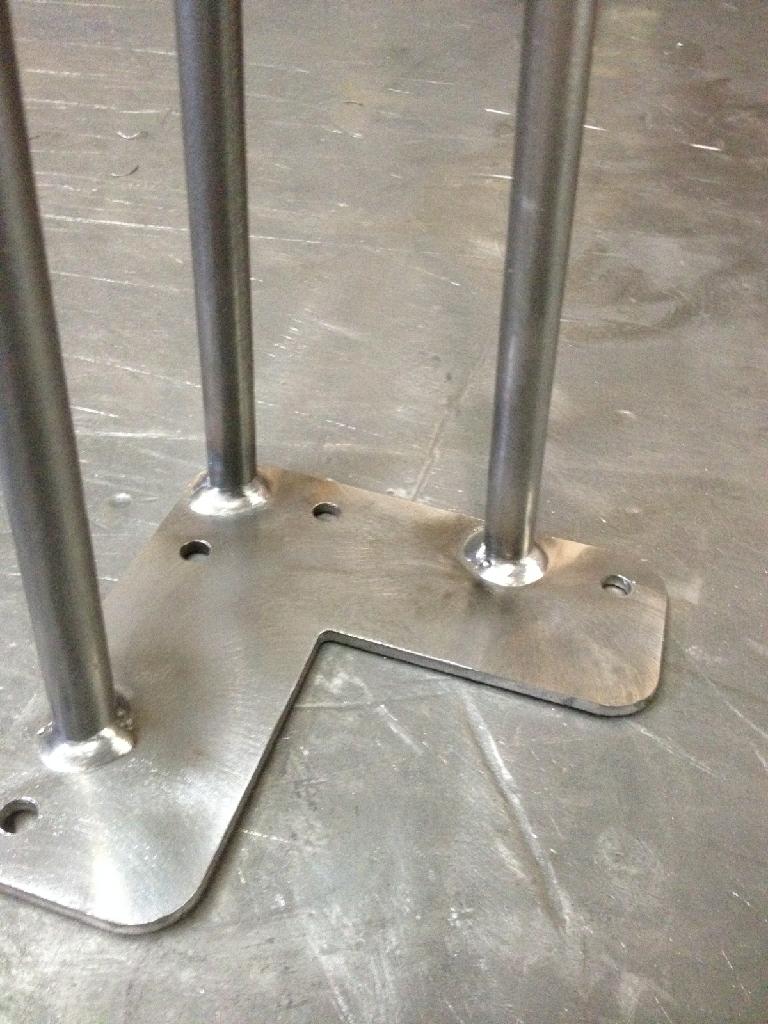
Taking a few minutes to plan how to attaching metal legs to a wooden surface properly can ensure that you’ll have a strong durable piece of furniture for years to come! Our hairpin legs and bench legs are designed to be easily attached to the surface you’re working with, but we do have a few tips. The metal legs are made with a top plate with holes for easy attachment to the wooden surface they will be supporting. But how do you go about attaching the legs themselves?

We recommend wood screws that are no more than three quarters the depth of the wood surface you will be attaching the legs to. If you’re comfortable, drill pilot holes about half the diameter of the screw which will help prevent cracking when the screws are drilled in. These are the general guidelines we recommend, but definitely ask an experienced friend for help if you’re unsure how exactly to go about the process; your local hardware store should be able to point you in the right direction. If the screws you are using a little longer than the project calls for, you can adjust for height by using washers. Washers will also help spread the pressure generated by the screw, creating a longer lasting fit.
If you’re not using a traditional board top but are instead using a chest or dresser, see how much depth you have to work with where the screws will be attached – you don’t want screws sticking up into the usable space of the furniture. Have fun putting your own piece of furniture together – and don’t forget to plan before you drill! Once your metal legs are attached you’ll be the proud owner of hairpin leg furniture that will last for years to come!
