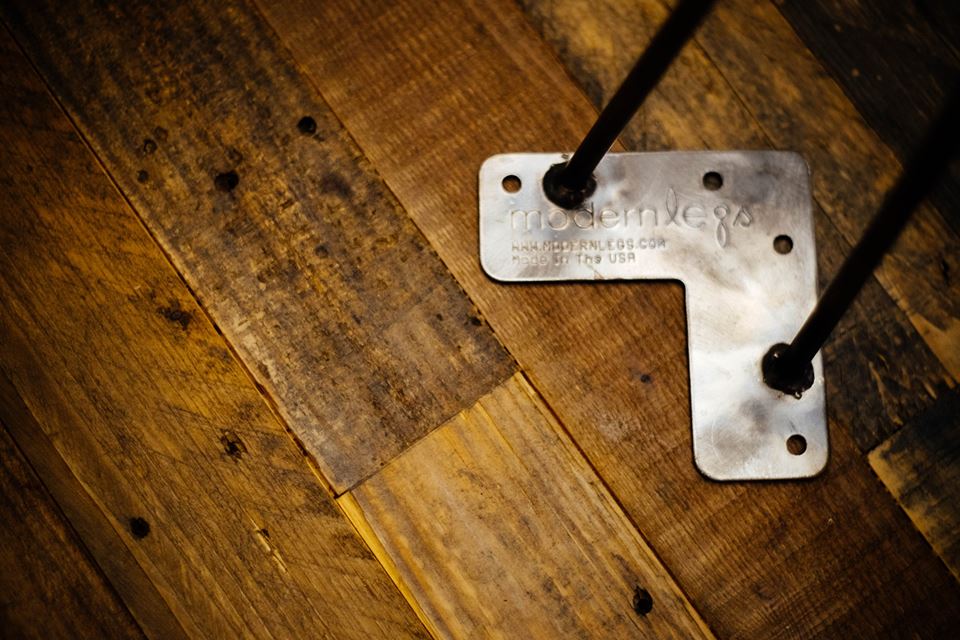
Attaching metal hairpin legs to the underside of your piece of furniture can be one of the most important parts of the DIY furniture experience. You will want to make sure they are securely attached to ensure years of happy furniture use. The hairpin legs come with the bracket attached – all as one piece of each hairpin leg. This bracket has pre-made holes in it to accommodate screws for the underside of the furniture.
 Perhaps the easiest tabletop or desktop to work with is a wooden surface with metal hairpin legs, we recommend wood screws for the project. If you are not sure what screws to use definitely consult an expert – your local hardware store should be able to recommend what to use. Typically you will want to have wood screws no more than three quarters of the length of your wood surface. If you are comfortable drilling pilot holes, you can also go this route to help prevent cracking the wood when drilling the screws in. Typically pilot holes are about half of the diameter of the screw itself. You may also want to use washers to help distribute the pressure of the screw to the base of the hairpin leg. As long as the head of the screw is wider than the hole in the washer, you should be all set.
The whole process start to finish will entail:
(1) choosing and ordering your hairpin leg of choice, be it the original hairpin leg, the square bar hairpin leg, the modern hairpin leg or one of our many other variations.
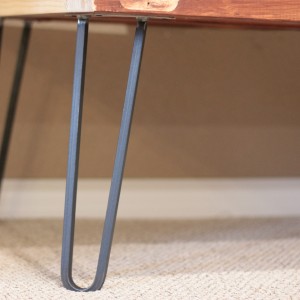
(2) Creating your tabletop. This can be a tabletop, bench, chest, or any other furniture you’d like to match with hairpin legs.
(3) Finishing the tabletop, if desired. This can entail any suitable wood finish such as oiling, varnishing, staining, or just unfinished wood if that is your preference.
(4) Attaching the metal legs to the underside of the tabletop with screws to ensure proper attachment.
(5) Place your new DIY furniture in its new home and enjoy it! Congratulations on your new piece of furniture and be sure to send us a picture of your creation!
